Credit: Unsplash
Looking for a unique way to store your jewelry and add a personal touch to your space? Why not create your own jewelry plate using clay? This DIY project is not only fun but also allows you to craft a stylish and functional piece that’s perfect for holding your favorite rings, earrings, and more. Plus, it’s a great way to get creative and make something truly special. Here’s a step-by-step guide to making your own jewelry plate from clay!
1. Gather Your Materials
Before you get started, make sure you have all the necessary materials. You’ll need:
- Air-dry clay or oven-bake clay
- Rolling pin
- Cookie cutter or stencil (optional, for shaping)
- Knife or clay tool
- Paint or markers (optional, for decorating)
- Sealer (optional, if you want a glossy finish)
You can find most of these items at your local craft store or online.
2. Prepare the Clay
Start by kneading your clay to make it soft and pliable. This will help you roll it out more easily. If you’re using air-dry clay, make sure to keep it covered when you’re not working with it to prevent it from drying out.
3. Roll Out the Clay
Place your clay on a flat surface, like a cutting board or a piece of parchment paper. Use a rolling pin to flatten the clay to your desired thickness—about 1/4 inch works well. If you’re using a stencil or cookie cutter, press it into the clay to create your plate’s shape.
4. Shape the Plate
Once you’ve cut out your shape, gently lift the clay and mold it into a plate shape. You can use a small bowl or cup as a mold by pressing the clay into it to create a curved, bowl-like form. Smooth out any rough edges with your fingers or a tool to give your plate a polished look.
5. Let It Dry
If you’re using air-dry clay, let your plate dry completely according to the package instructions—usually around 24 hours. If you’re using oven-bake clay, follow the baking instructions provided with the clay. Make sure to bake it in a well-ventilated area and keep an eye on it to avoid overbaking.
6. Decorate Your Plate
Once your plate is dry, it’s time to get creative! Use paint or markers to add your favorite colors, patterns, or designs. You can create a chic marble effect, go for a minimalist look with metallic accents, or add a pop of color with bright, fun hues. If you want a glossy finish, apply a sealer over your decorations and let it dry.
7. Use and Enjoy
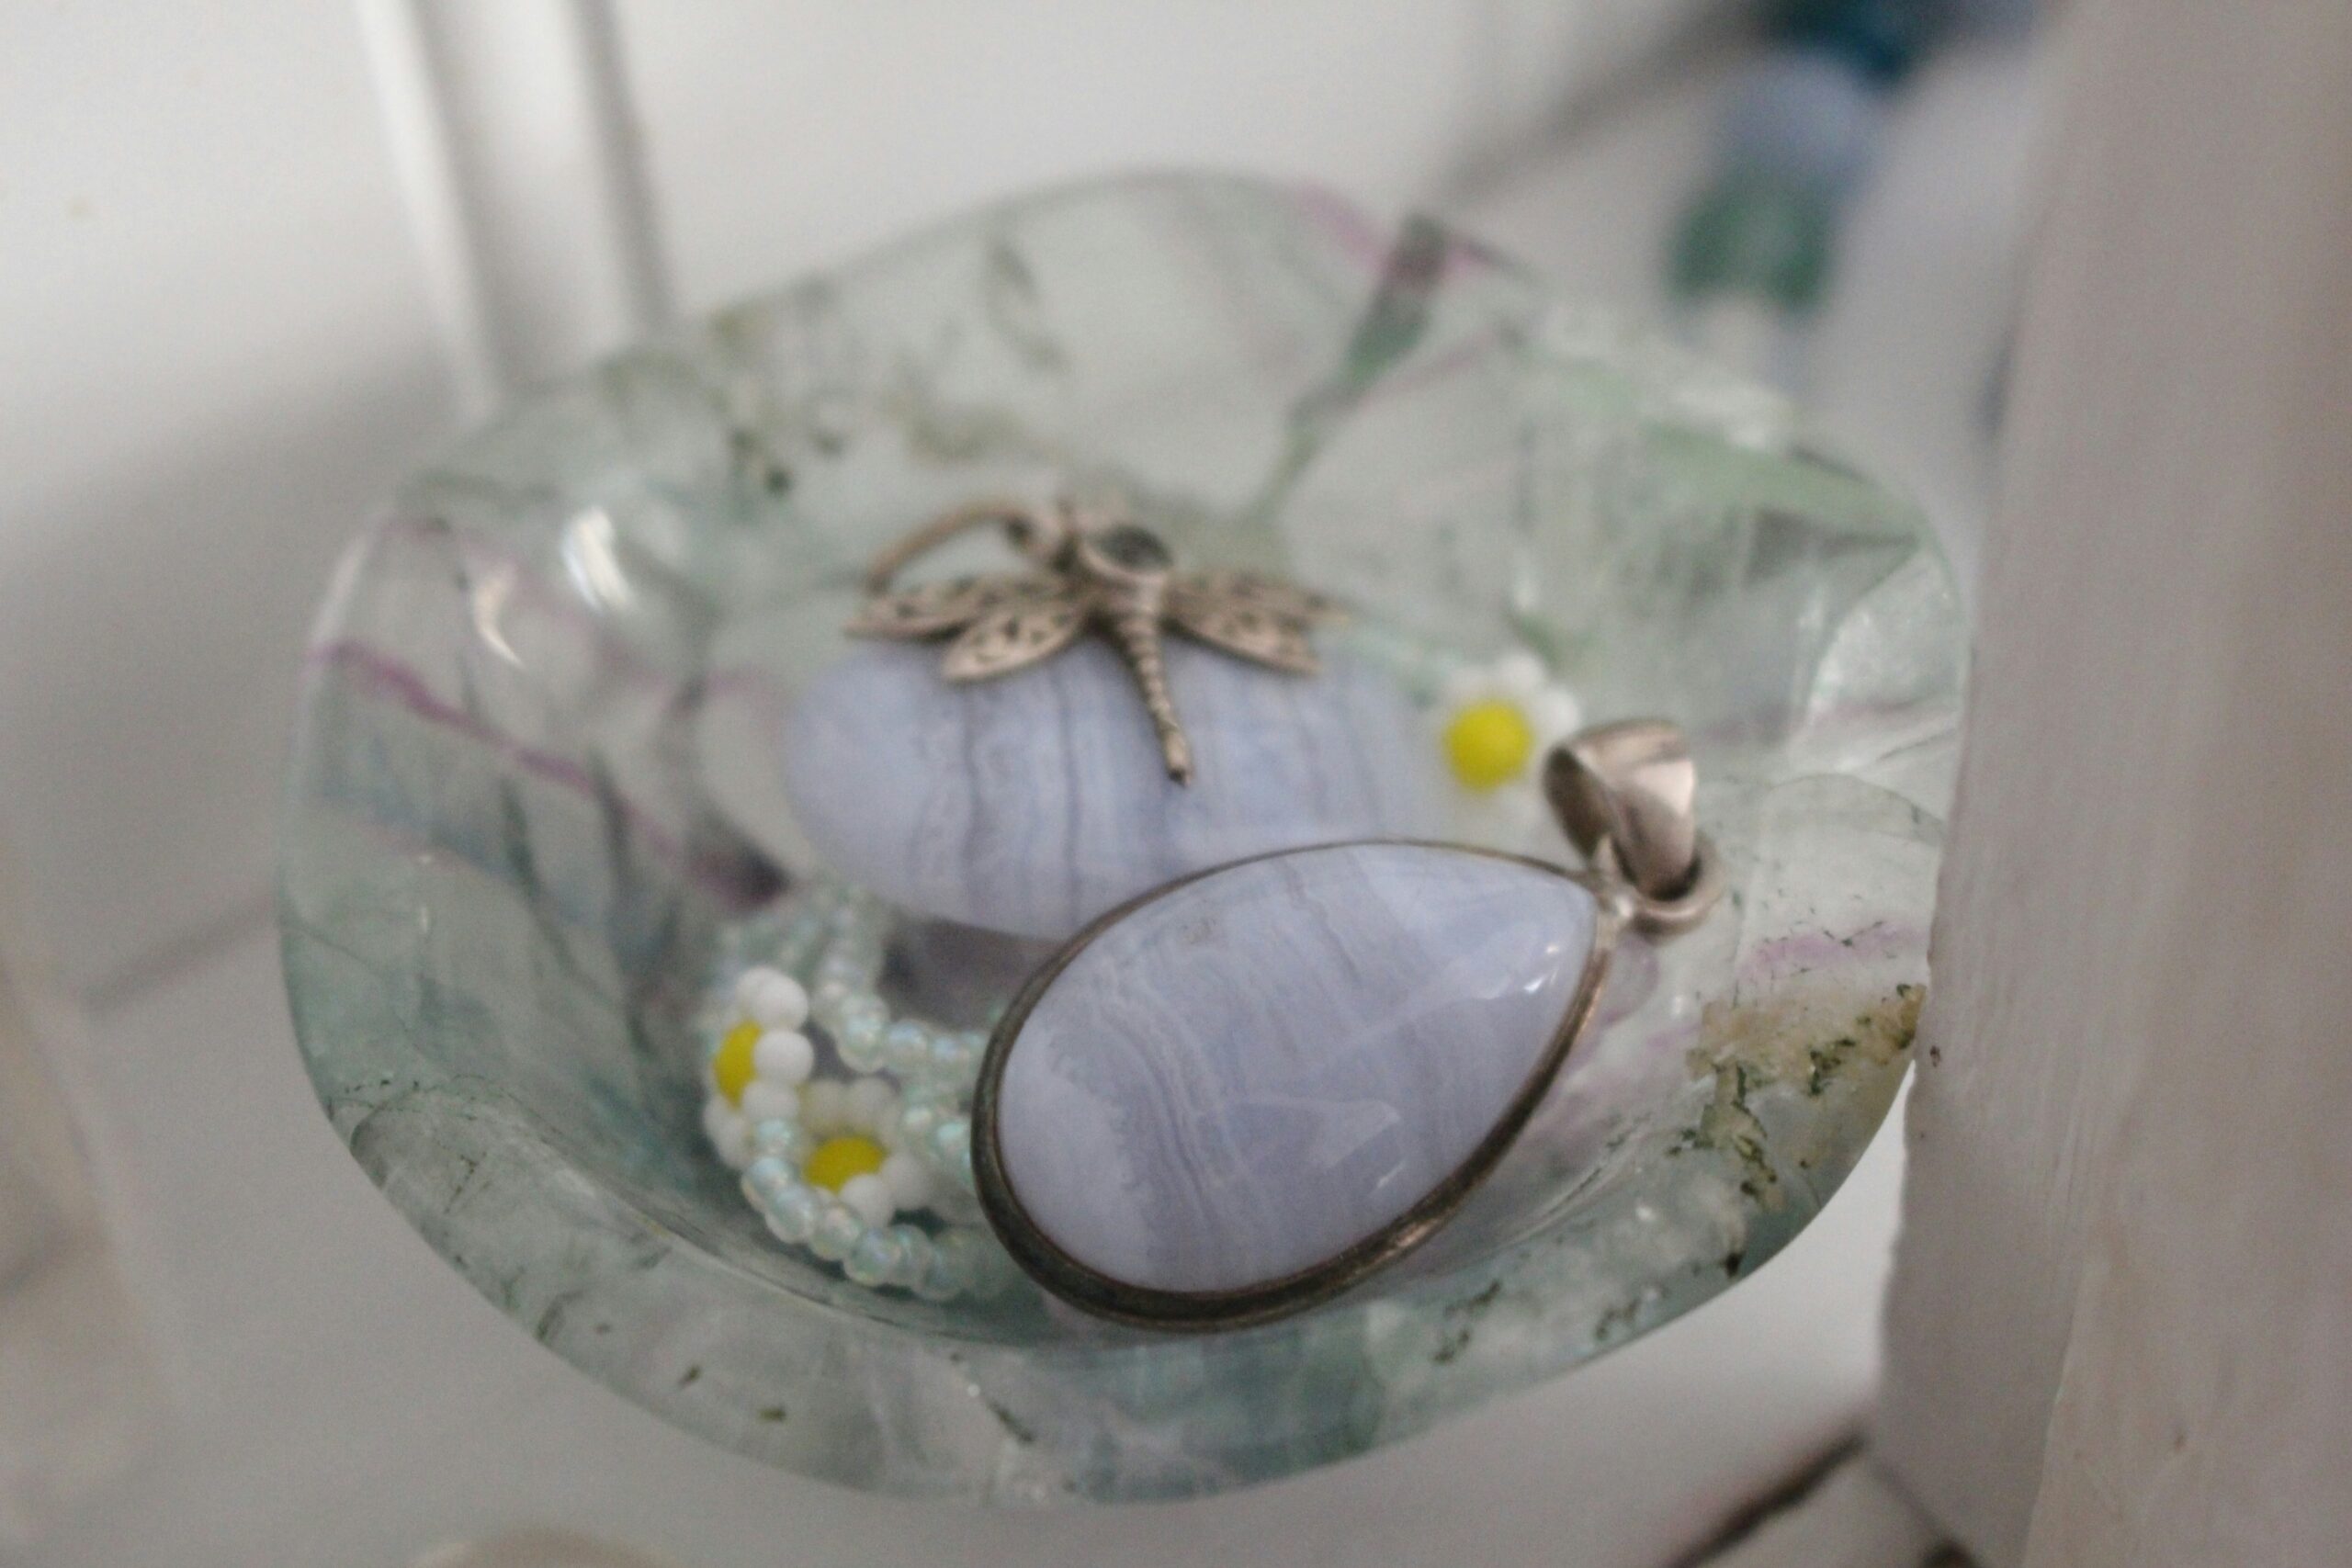
Your DIY jewelry plate is now ready to use! Place it on your dresser, bedside table, or vanity to keep your jewelry organized and stylish. It’s perfect for holding rings, earrings, and necklaces, and it adds a personal touch to your space. Plus, every time you use it, you’ll get to enjoy the satisfaction of knowing you made it yourself!
Crafting your own jewelry plate from clay is a fantastic way to unleash your creativity and make something truly unique.