Credit: Shutterstock
Flowers have a magical way of marking life’s most meaningful moments. Whether they come from a birthday celebration, wedding, graduation, anniversary, or a thoughtful gift, fresh blooms brighten our days—but unfortunately, they don’t last forever.
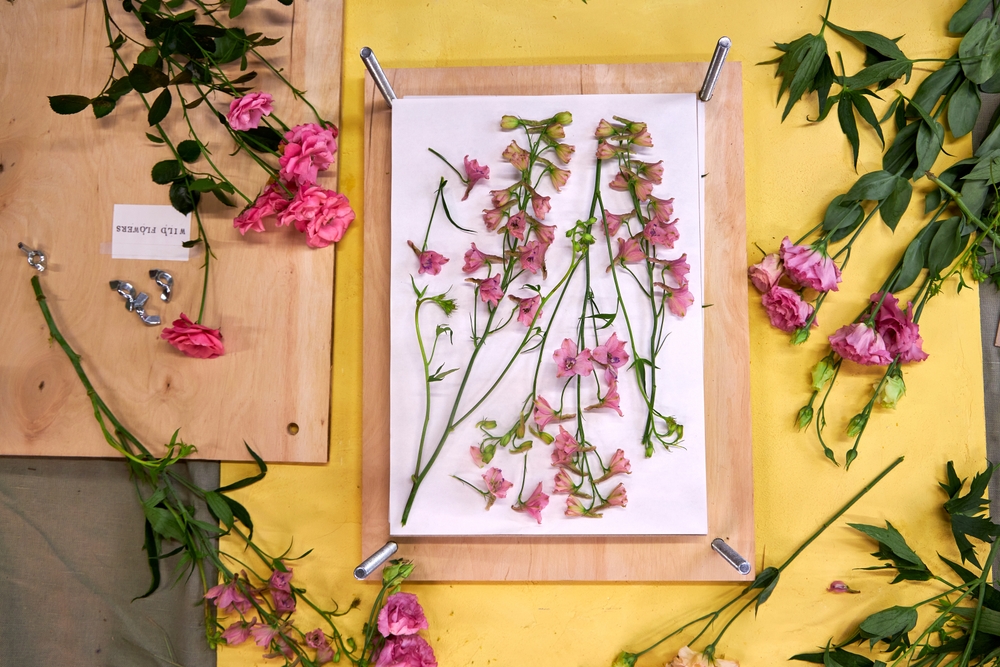
The good news? You can preserve their beauty in just a few minutes. With a simple microwave technique, flower pressing no longer requires weeks of waiting. In less than two minutes, you can transform fresh flowers into delicate keepsakes and use them to create beautiful framed artwork that can be displayed for years.
Why Press Flowers?
Pressed flowers allow you to hold onto special memories long after the petals would normally fade. They can be used in a variety of creative projects, including:
- Decorative wall art
- Greeting cards
- Scrapbooks and journals
- Bookmarks
- Resin crafts
- Personalized gifts
- Keepsake memory frames
Best of all, every pressed flower tells a story, making each project completely unique.
The Best Flowers for Pressing
Not all flowers behave the same way during the pressing process. Some retain their vibrant colors beautifully, while others may change shades slightly as they dry.
Easy Flowers for Beginners
Flat flowers generally produce the best results, including:
- Daisies
- Chamomile
- Asters
- Pansies
- Cosmos
Small filler flowers such as statice also press beautifully and can add texture to your designs.
Greenery That Presses Well
Many types of foliage work wonderfully, including:
- Myrtle
- Rose leaves
- Ferns
- Ivy
Keep in mind that some greenery may shift to softer olive tones after drying.
What About Roses?
Roses can be more challenging because of their thick petals. For better results:
- Slice the bloom in half before pressing, or
- Press individual petals separately
Don’t be discouraged if your first attempt isn’t perfect. Experimenting with different flowers is part of the fun.
How Flower Colors Change During Pressing
One of the most fascinating aspects of flower pressing is seeing how colors evolve.
Generally:
- Yellow flowers tend to retain their brightness.
- Bright pink flowers may dry into purple tones.
- Pastel blooms often become softer and lighter.
- Green leaves can deepen into muted earthy shades.
Every flower creates its own beautiful surprise.
What You’ll Need
Before you begin, gather the following supplies:
- Fresh flowers or greenery
- Paper towels or clean cotton cloths
- A microwave-safe heavy plate or dish
- Microwave oven
- Scissors
How to Press Flowers in Under Two Minutes
This quick microwave method dramatically speeds up the traditional flower-pressing process.
Step 1: Prepare Your Flowers
Trim flowers and leaves to your desired size. You can keep stems attached or remove them completely depending on your project.
Step 2: Arrange Carefully
Place the flowers between two sheets of paper towel or inside a folded cotton cloth.
Take your time arranging them because they will dry exactly in the position you place them. Flatten any curled petals for the best results.
Step 3: Add Gentle Weight
Place a microwave-safe plate or dish on top of the flowers.
The weight doesn’t need to be heavy enough to crush them. It simply helps keep them flat while moisture evaporates.
Step 4: Microwave
Heat on 50% power for approximately 90 seconds.
Carefully remove the dish and check the flowers.
Step 5: Check for Dryness
Properly pressed flowers should feel dry and papery.
If they still feel slightly damp, continue microwaving in 30-second intervals until fully dry.
Allow them to cool completely before handling. As they cool, they will become firmer and more delicate.
Your pressed flowers are now ready for crafting.
Create a Beautiful DIY Pressed Flower Keepsake Frame
Once your flowers are pressed, turn them into a stunning piece of personalized décor.
A floating glass frame works particularly well because it showcases the flowers from both sides and creates an elegant botanical display.
Materials Needed
- Floating frame
- Pressed flowers and greenery
- Optional glue dots or clear adhesive
Creative Frame Design Ideas
1. Preserve a Special Memory
Pair your pressed flowers with:
- A favorite photograph
- A wedding invitation
- A handwritten note
- A greeting card
- A concert or event ticket
Arrange the flowers around the keepsake to create a meaningful memory collage.
2. Embrace Botanical Minimalism
For a modern and sophisticated look, use only greenery.
Mix leaves with different textures, sizes, and shapes to create natural artwork that complements almost any interior style.
3. Recreate a Bouquet
Keep stems attached and arrange the flowers into a bouquet shape inside the frame.
Cluster the stems toward the bottom and fan the flowers outward to mimic the appearance of a freshly gathered bouquet.
How to Display Your Pressed Flower Art
Pressed flower frames are incredibly versatile and can be displayed throughout your home.
Popular options include:
- Gallery walls
- Bedroom dressers
- Mantels
- Floating shelves
- Entryway tables
- Home offices
They also make thoughtful handmade gifts for birthdays, Mother’s Day, anniversaries, weddings, and other milestone celebrations.
Tips for Long-Lasting Pressed Flowers
To help preserve your artwork for years:
- Keep frames away from direct sunlight.
- Avoid humid environments.
- Handle flowers gently during assembly.
- Use UV-protective glass when possible.
- Store unused pressed flowers in a dry, flat container.
Final Thoughts
Flower pressing is one of the easiest and most rewarding ways to preserve life’s meaningful moments. Thanks to the microwave method, you no longer need to wait weeks for flowers to dry. In just a couple of minutes, you can transform fresh blooms into lasting keepsakes and create beautiful framed art that celebrates special memories.
Whether you’re preserving flowers from a memorable occasion or simply exploring a new creative hobby, pressed flower keepsake frames offer a beautiful blend of nature, nostalgia, and personal style.