Halloween is just around the corner, and it’s time to unleash your creativity and sprinkle some spookiness around your home! Whether you’re a crafting pro or a DIY novice, making your own decorations can be a fun and fulfilling way to celebrate the season. Here’s a guide to creating some adorably cutesy Halloween decorations that will delight your guests and give your home a festive touch!
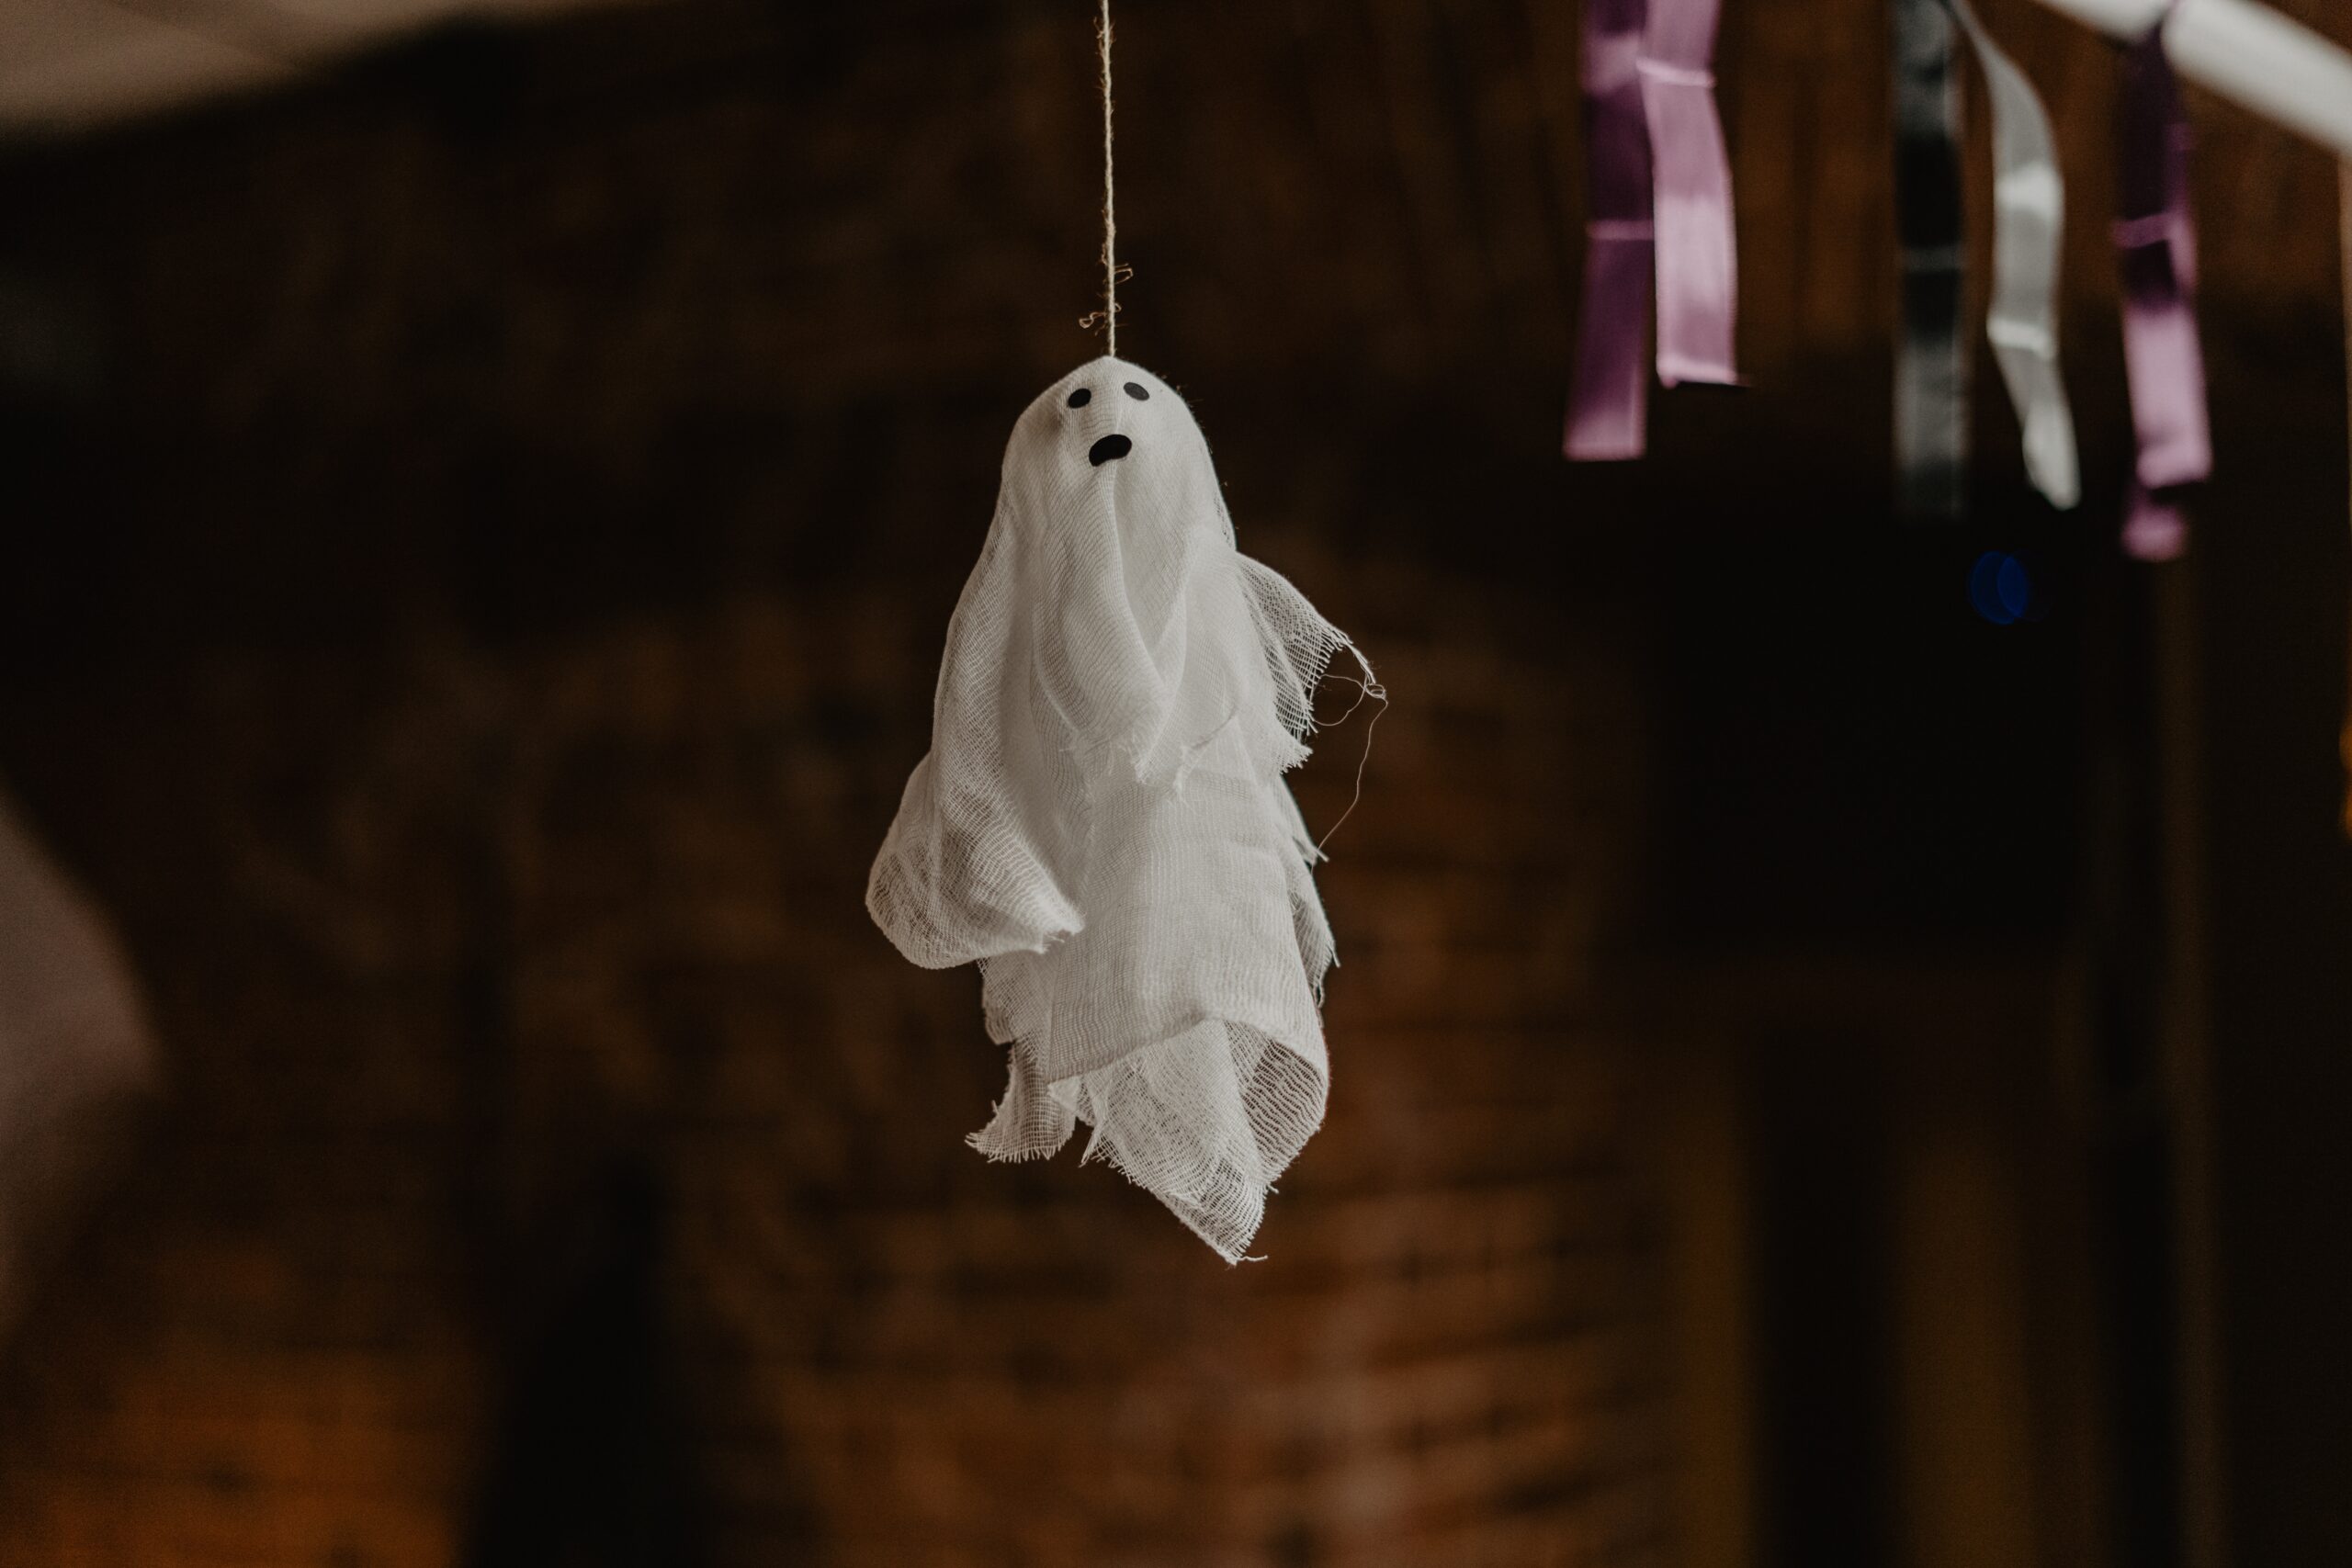
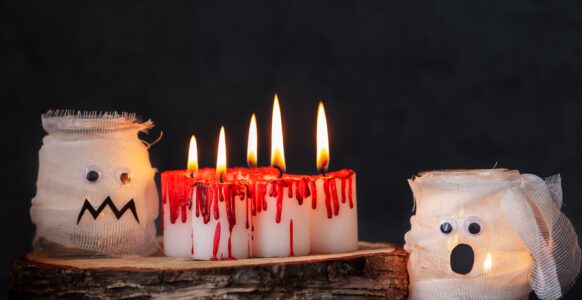
1. Spooky Ghosts Made from Cheesecloth
What You’ll Need:
- White cheesecloth or gauze
- Balloons (round or oval shape)
- Black marker
- Twine or string
- A bowl of water (optional for soaking)
Instructions:
- Inflate a balloon to your desired size and tie it off.
- If you want a more textured look, soak your cheesecloth in water and let it drip for a few seconds.
- Drape the cheesecloth over the balloon, allowing it to create a ghostly shape.
- Use twine to tie the base of the cheesecloth to the balloon. This will give your ghost a cute “neck.”
- Draw two large eyes and a mouth with the black marker.
- Let it dry, then pop the balloon and carefully remove it. Display your ghostly creation around your home!
2. Adorable Pumpkin Jars
What You’ll Need:
- Empty glass jars (mason jars or any old jars will do)
- Orange acrylic paint
- Green felt or paper
- Paintbrush
- Black paint or markers
Instructions:
- Start by painting the outside of the jar with orange acrylic paint. You might need a couple of coats for an even color—let it dry completely between coats.
- Once dry, use black paint or a marker to draw cute faces on the jar, like smiles or silly expressions.
- Cut leaves and vines from green felt or paper and glue them to the lid of the jar for a pumpkin stem.
- Fill your jars with tea lights, candies, or little spooky trinkets, and place them around your home for a festive touch!
3. Whimsical Paper Mache Bats
What You’ll Need:
- Balloons
- Newspaper (torn into strips)
- Flour and water (for paste)
- Black paint
- Scissors
- Googly eyes (optional)
Instructions:
- Inflate your balloons to your desired size—these will be the bodies of your bats!
- Mix flour and water to create a paste (about 1 part flour to 2 parts water).
- Dip the newspaper strips into the paste, then layer them over the balloon, covering it completely. Let it dry for at least 24 hours.
- Once dry, pop the balloon and remove it. Cut out bat wings from black construction paper and glue them to the body.
- Paint your bat black and add googly eyes for an extra cute touch!
- Hang your bats around the house or from the ceiling to add a whimsical vibe.
4. Cute Trick-or-Treat Bags
What You’ll Need:
- Plain tote bags or brown paper bags
- Fabric paint or markers
- Felt or fabric scraps
- Glue or a sewing kit
Instructions:
- Choose your bags—plain tote bags or brown paper bags work great!
- Use fabric paint or markers to draw cute Halloween designs, like friendly ghosts, pumpkins, or witches.
- For added dimension, cut shapes from felt or fabric and glue or sew them onto the bags.
- Use these bags for trick-or-treating or as fun decorative pieces around your home!
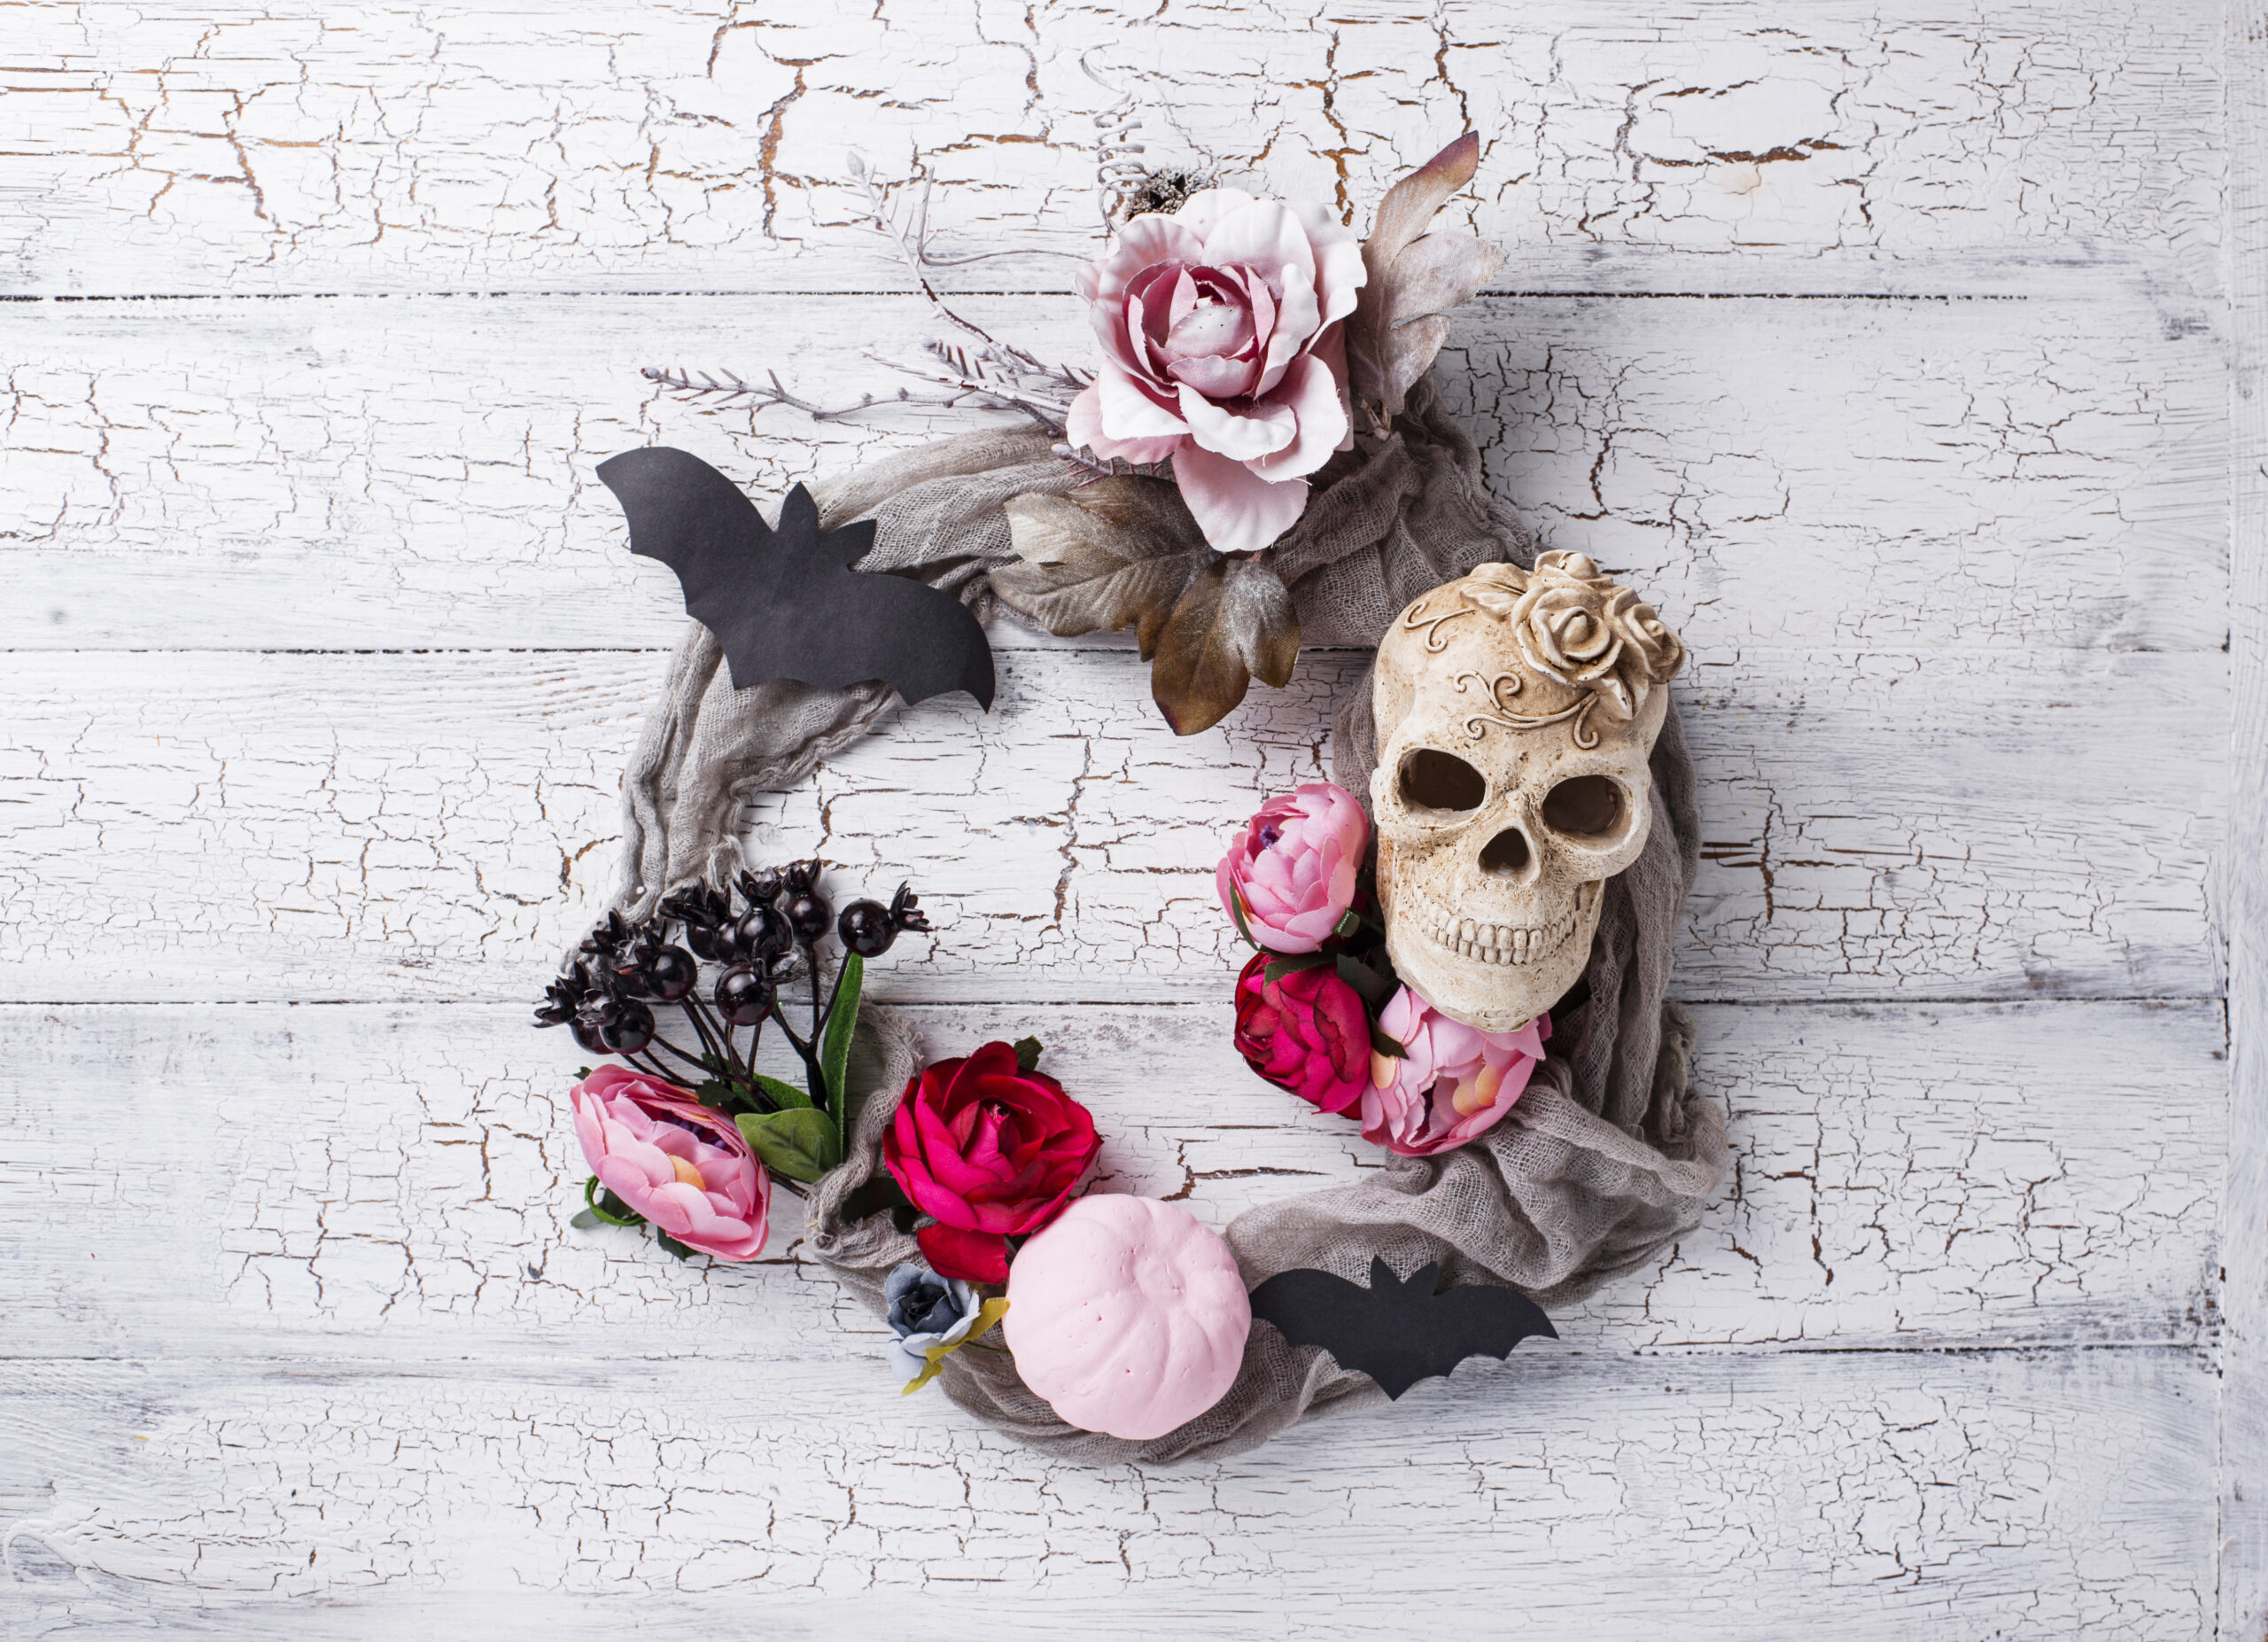
5. Whimsical Halloween Wreath
What You’ll Need:
- A foam or straw wreath form
- Black yarn or fabric
- Felt or foam shapes (like pumpkins, bats, ghosts)
- Hot glue gun
- Ribbons (in Halloween colors)
Instructions:
- Wrap the foam or straw wreath form with black yarn or fabric, securing it with hot glue as you go.
- Once the wreath is covered, use hot glue to attach felt or foam shapes around the wreath in a fun, whimsical pattern.
- Add ribbons for a pop of color, tying them at the top or letting them hang down.
- Hang your wreath on your front door or a wall to welcome guests with some cute Halloween charm!
With these simple and fun DIY projects, you can transform your home into a cutesy Halloween wonderland. Grab your crafting supplies, gather your family or friends, and get creative! Not only will you add a personal touch to your decorations, but you’ll also create wonderful memories along the way.


