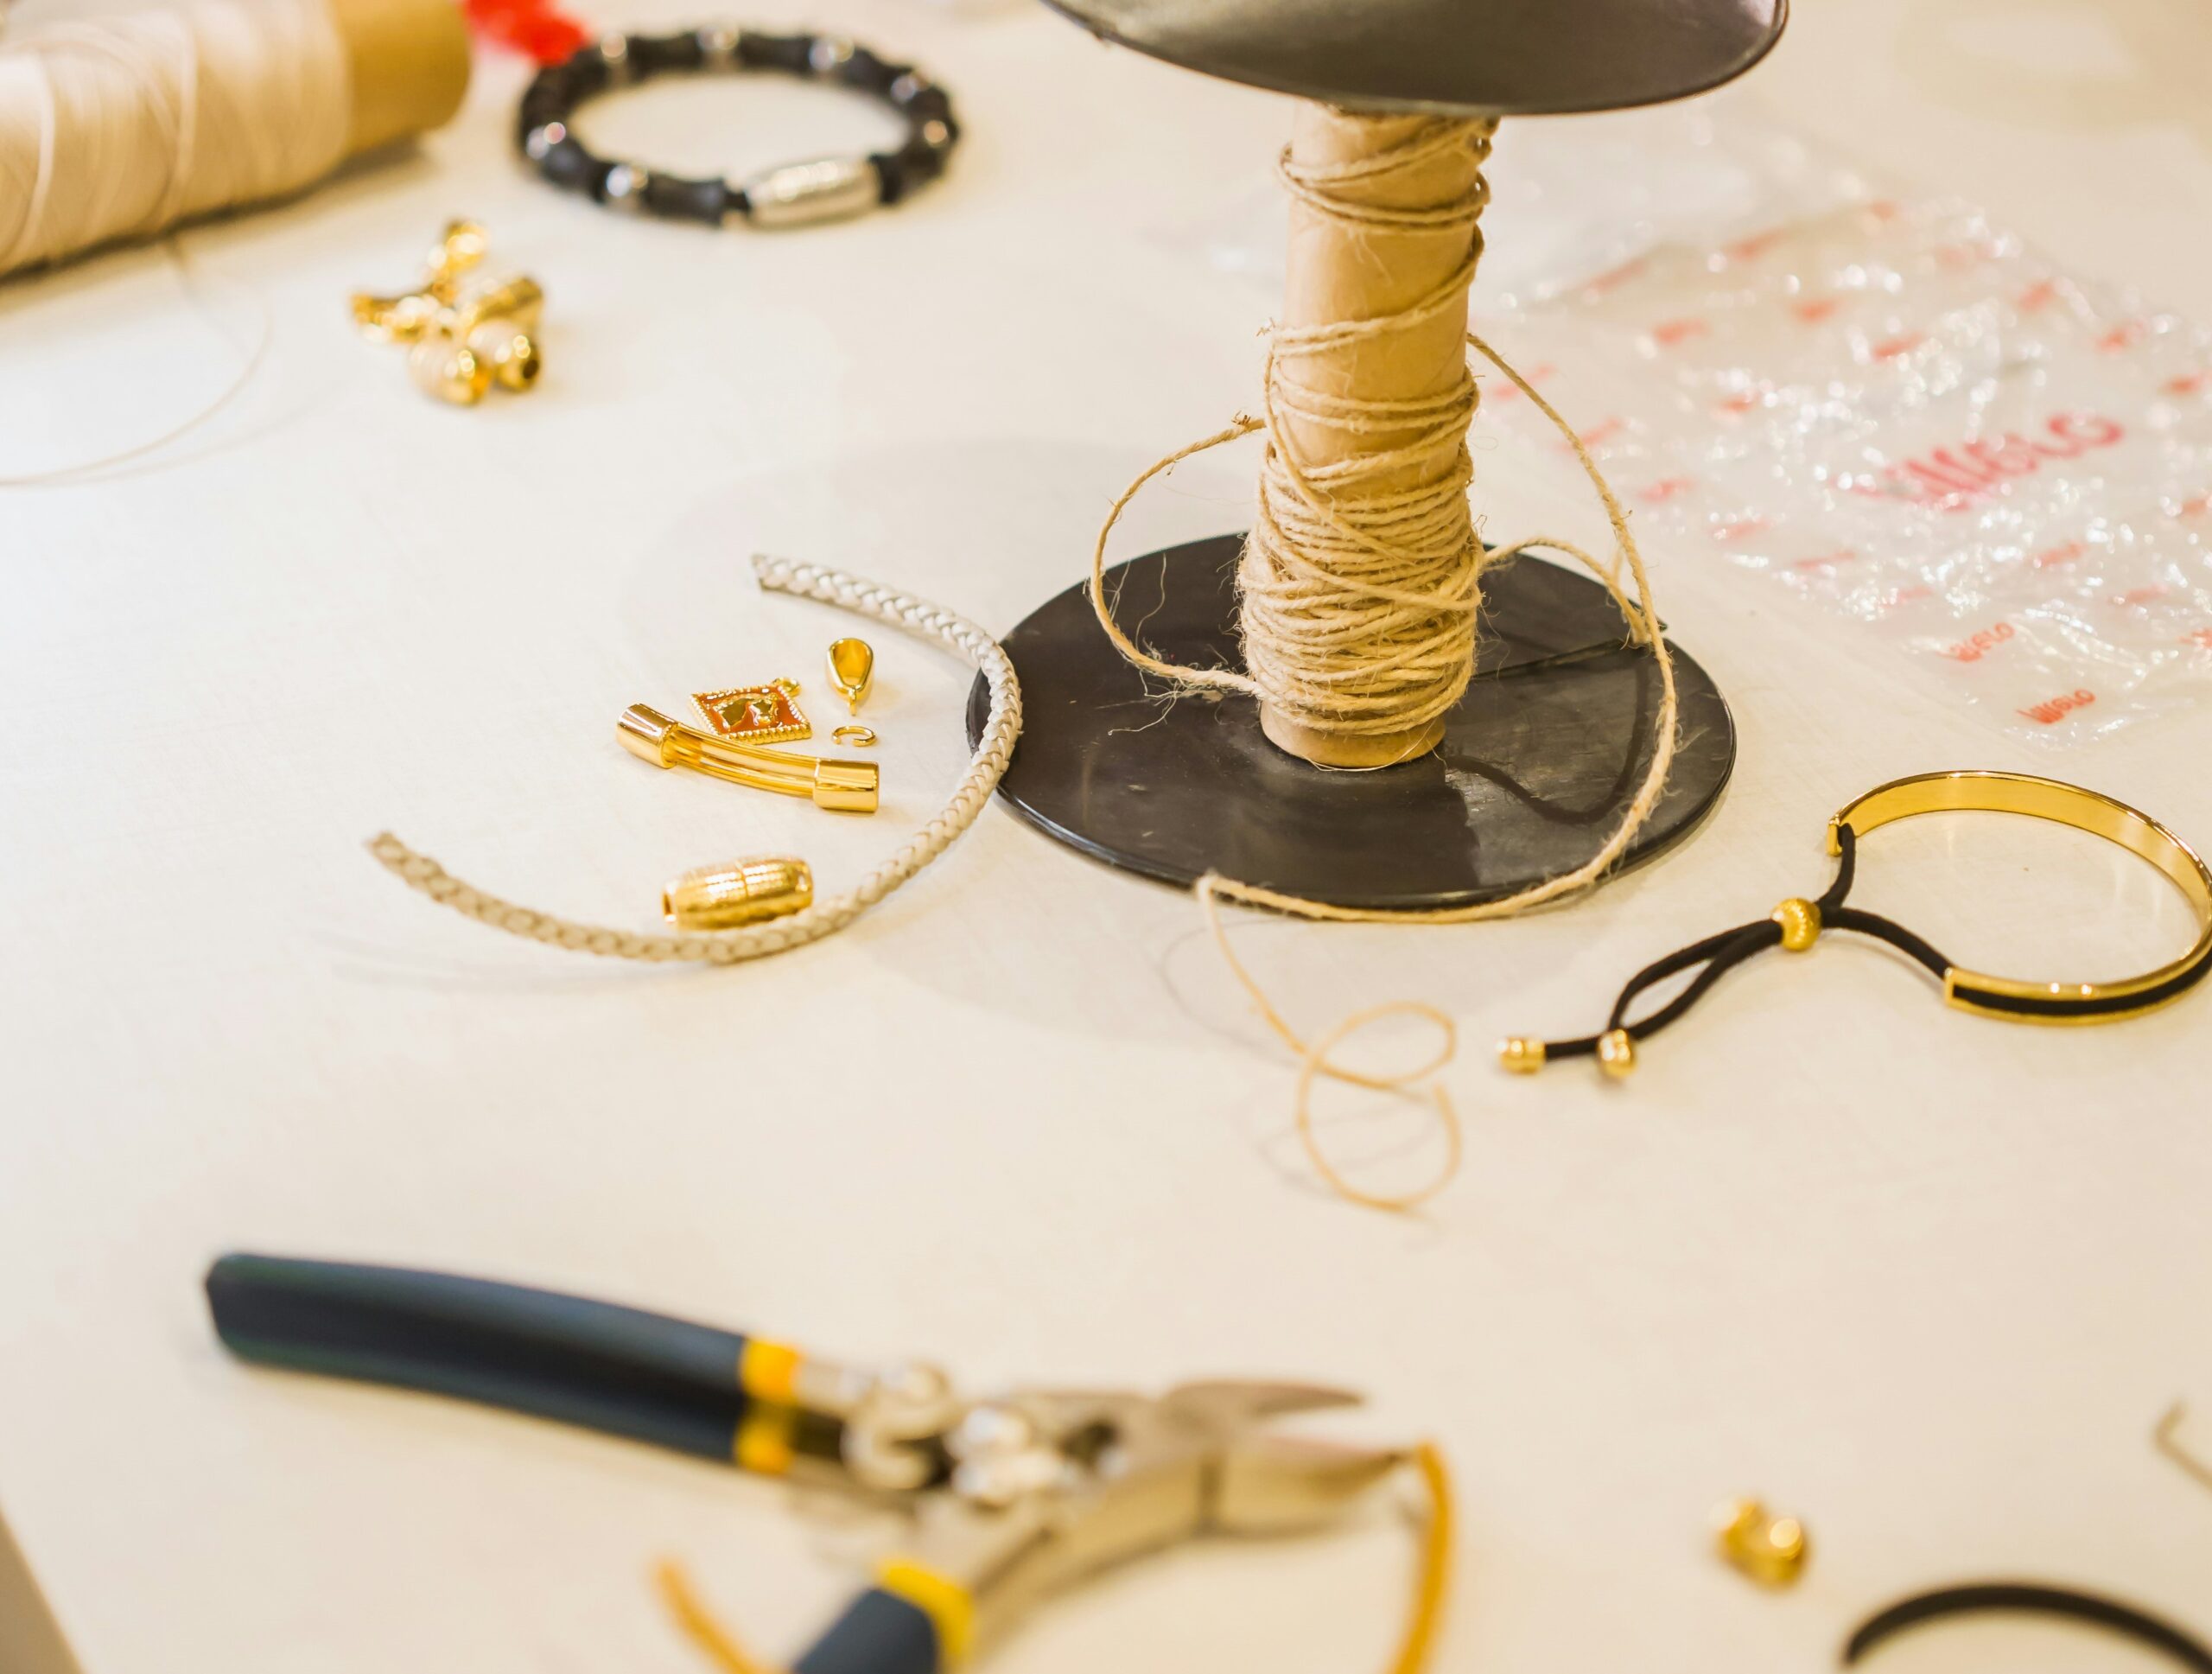
Are you ready to unleash your inner artist and create stunning jewelry that’s as unique as you are? Whether you’re looking for a fun weekend project or want to dive deep into the world of DIY fashion, making your own jewelry from clay is the perfect way to express your creativity. The best part? It’s easier than you think! Grab some clay, roll up your sleeves, and let’s get started.
Step 1: Gather Your Materials
Before we dive into the fun part, let’s make sure you have everything you need. For your clay jewelry, you’ll want to have:
- Polymer clay (choose your favorite colors!)
- Clay tools (you can get creative with things like toothpicks, straws, or cookie cutters)
- Rolling pin or a smooth cylindrical object
- Baking tray and parchment paper for curing the clay
- Jewelry findings (earring hooks, necklace chains, jump rings, etc.)
- Pliers (for attaching your pieces to the jewelry findings)
You can find these materials at most craft stores, or you can even order them online. Once you’ve gathered your supplies, you’re ready to start creating!
Step 2: Shape Your Clay
This is where the fun really begins! Polymer clay is super versatile, so let your imagination run wild. Roll the clay out with your rolling pin to about 1/8 inch thick, then cut out your shapes. You can use cookie cutters, or just freehand your own designs. Think of cool shapes like hearts, leaves, or abstract patterns. Don’t forget, you can mix and swirl different colors together for an added pop of style.
Pro Tip: Try creating marble or ombré effects by blending different clay colors together. The results are gorgeous!
Step 3: Make Holes for Findings
If you’re making earrings or pendants, you’ll need to add small holes for attaching the jewelry hardware. Use a toothpick or a small tool to poke a hole where you’d like the chain or hook to go. Make sure the hole is large enough to fit your jump rings or hooks, but not too big that it affects the design.
Step 4: Bake the Clay
Once you’re happy with your designs, it’s time to bake your clay pieces. Follow the instructions on the clay packaging, but typically you’ll bake the pieces at around 275°F (130°C) for 15-30 minutes. Make sure to place your creations on parchment paper to avoid sticking.
Pro Tip: Keep an eye on your clay while it bakes! Overcooking can cause your pieces to burn or discolor.
Step 5: Assemble Your Jewelry
After your clay pieces have cooled down, it’s time to transform them into wearable art! Use your pliers to attach jump rings, hooks, or chains to your creations. This is also a great time to add any additional flair, like beads or charms.
Step 6: Flaunt Your Creation!
Congratulations, you’ve just made your own jewelry! Now, show off your stunning new accessories by wearing them out and about. The best part? Every piece is a one-of-a-kind masterpiece that you made with your own hands.
Bonus: DIY Jewelry Ideas
- Earrings: Go for funky geometric shapes or dainty drops.
- Necklaces: Create a statement pendant or layer small charms for a personalized look.
- Bracelets: Roll small clay beads and string them together for a fun and colorful bracelet.
- Rings: Shape clay into thin bands or playful designs that wrap around your finger.
Why DIY Clay Jewelry Is So Awesome
Not only is making your own clay jewelry fun and creative, but it’s also a fantastic way to unwind and let your artistic side shine. Plus, handmade jewelry makes for a meaningful gift for friends and family. There’s nothing quite like giving (or receiving) a piece of jewelry that’s totally unique.
So, what are you waiting for? Get those creative juices flowing and start making your own clay jewelry today.


