Credit: Shutterstock
If you’ve scrolled through home decor accounts lately, you’ve probably noticed the same little dish popping up everywhere: a small, slightly imperfect ceramic-looking tray sitting on a nightstand, catching rings and earrings by the sink, or holding a candle on a coffee table. The best part? Most of them weren’t made in a pottery studio. They were made at a kitchen table, with clay that never touches an oven or a kiln.
Air-dry clay trinket dishes have quietly become one of the most-made gifts of the year, and it’s easy to see why. They take almost no special equipment, they’re forgiving if you’ve never worked with clay before, and every single one comes out looking a little different — which is exactly the point. A store-bought dish looks like a thousand others. A handmade one looks like yours.
Here’s everything you need to know to make your own, plus a few ways to make them look far more polished than the ten minutes of effort they actually take.
Why This Trend Took Off
A few things are driving the trinket-dish moment. Slow, tactile hobbies have been having a real resurgence — the same instinct that pushed people toward bread baking and hand embroidery a few years back has landed on clay. It’s screen-free, it doesn’t require a big investment, and you get a finished object in an afternoon instead of weeks.
There’s also a practical side. Catch-all dishes are genuinely useful. Everyone has a spot where keys, rings, or loose change pile up, and a handmade dish turns that clutter zone into something that actually looks intentional. Add in the fact that air-dry clay is cheap, doesn’t need a kiln, and cleans up with just water, and it’s obvious why this has become the go-to beginner project — and the go-to low-effort, high-impact gift.
What You’ll Need
You don’t need a pottery wheel, a kiln, or any prior experience. Here’s the full shopping list:
- Air-dry clay — white, terracotta, or gray all work well. A single block is usually enough for 3–4 small dishes.
- A rolling pin (or a clean glass or wine bottle in a pinch)
- Two thin, flat objects of equal thickness — wooden paint stirrers, popsicle sticks, or rulers work great for keeping your clay an even thickness
- A small bowl, cup, or ramekin to shape the dish over
- A butter knife or clay tool for trimming edges
- A straw or toothpick if you want a hole for hanging or a hook detail
- Fine sandpaper (220 grit or higher) for smoothing once dry
- Acrylic paint, gold leaf pen, or a sealant for finishing, if you want to decorate
That’s genuinely the whole list. Most of it is probably already sitting in a kitchen drawer.
How to Make One
1. Condition the clay. Knead your clay for a minute or two, the same way you’d work dough. This warms it up and gets rid of any air bubbles that could cause cracks later.
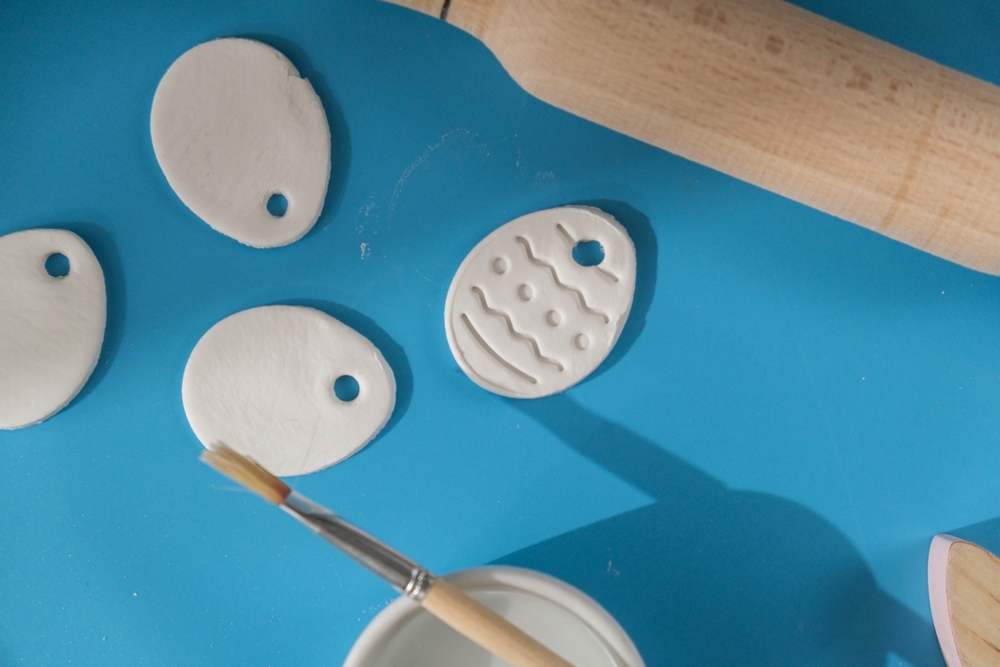
2. Roll it flat. Place your two flat sticks on either side of the clay, about the width of your dish apart, and roll over them with your rolling pin. Because both sticks are the same height, you’ll end up with a perfectly even slab — usually around a quarter-inch is ideal for a dish that holds its shape but isn’t heavy.
3. Drape and shape. Flip a small bowl or ramekin upside down, and gently drape your clay slab over it. Let gravity do the shaping — the clay will naturally fold into soft, organic curves as it settles. This is what gives handmade dishes that slightly wavy, undone-on-purpose edge people love.
4. Trim the edges. Once it’s draped, trim away any excess clay with your knife to create the shape you want — round, freeform, or even a soft square.
5. Let it dry. Leave the clay on the bowl for the first hour or two so it holds its shape, then carefully remove it and let it finish drying on a flat surface. Most air-dry clay takes 24 to 48 hours to fully cure, depending on thickness and humidity. Resist the urge to rush this part — flipping it partway through helps it dry evenly on both sides.
6. Sand and finish. Once completely dry, a quick pass with sandpaper smooths any rough edges. From here, you can leave it in its natural, raw state for an earthy, minimalist look, paint it a solid color, or add a delicate painted edge in gold or black for something a little more elevated.
Three Ways to Make Yours Look Store-Bought
- Dip the rim in gold paint. Even a plain white dish looks expensive with a thin, hand-painted gold edge.
- Press in texture before it dries. Lace, leaves, or even the bottom of a textured glass pressed lightly into wet clay leaves a beautiful imprint.
- Seal it if it’ll hold jewelry. A light coat of matte sealant keeps the surface from absorbing oils from rings and earrings over time.
Gifting Ideas
Because each one takes so little material, trinket dishes are easy to make in batches — which makes them a natural fit for teacher gifts, bridesmaid proposals, hostess gifts, or stocking stuffers. A few ideas that tend to land well:
- A small dish paired with a scented candle or a bar of soap
- Initial-stamped dishes for a personalized touch (letter stamps work directly into wet clay)
- A stack of mini dishes tied together with ribbon as a “catch-all set”
A Few Things to Keep in Mind
Air-dry clay is durable once cured, but it’s not waterproof or oven-safe, so these dishes are best for jewelry, keys, or dry odds and ends rather than anything that needs to be washed regularly. Keep pieces away from prolonged moisture, and if a dish ever gets a hairline crack, a small dab of fresh clay pressed into the gap and left to dry usually fixes it right up.
That’s really the whole appeal here — low cost, low pressure, and a finished object that still feels special because you made it. Once you’ve made your first one, don’t be surprised if you end up making five more before the week is out.